


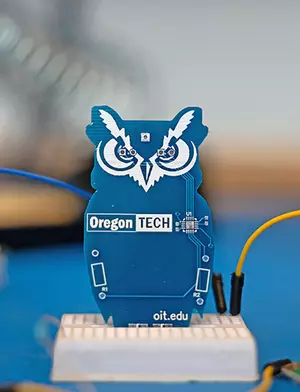
Oregon Tech launched the Mini Owl project to engage with the community, future students, alumni, and supporters. Used in conjunction with other Oregon Tech events, participants can build their own Mini Owl pin in less than 30 minutes.
By participating in the Mini Owl Project, participants will:
-
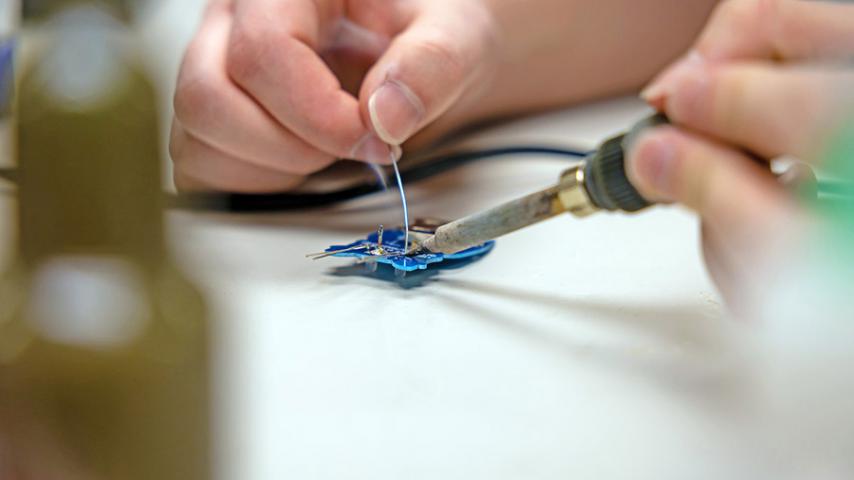
Learn how to solder through hole components
-
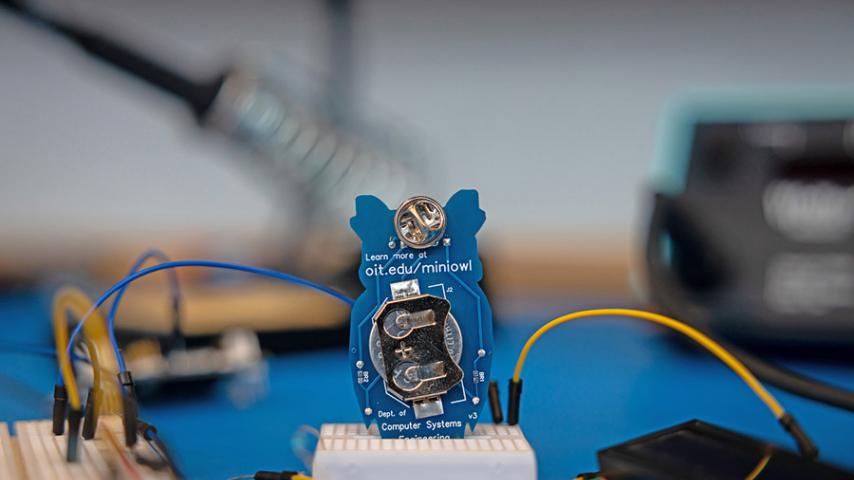
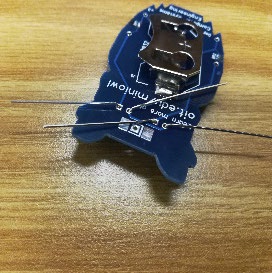
Understand how to assemble a PCB as well as the circuit components involved
-
Identify components and how to connect them together to illuminate the LEDs
Photo Gallery

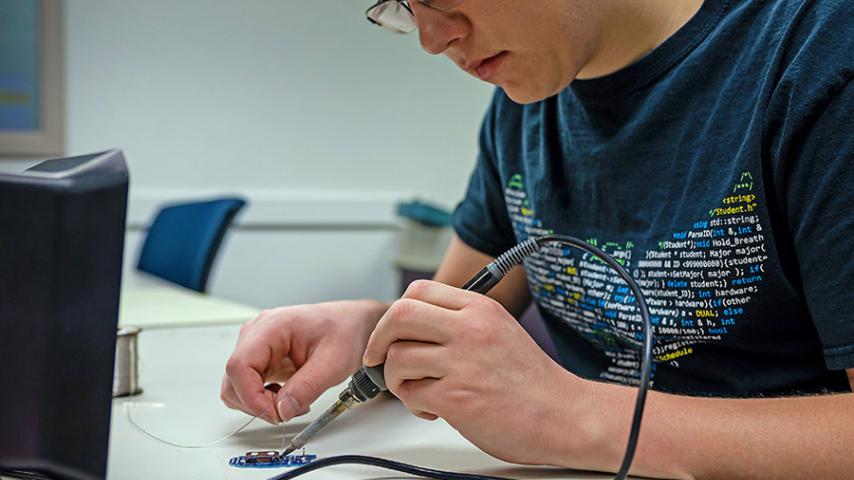
How to Build the Mini Owl
Required Equipment
- Soldering iron
- Safety glasses
- Tweezers
- Mini pliers
Required Supplies
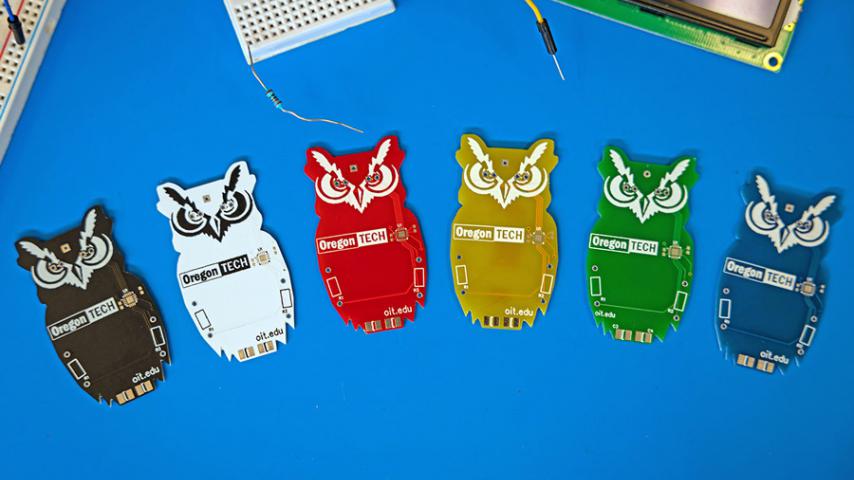
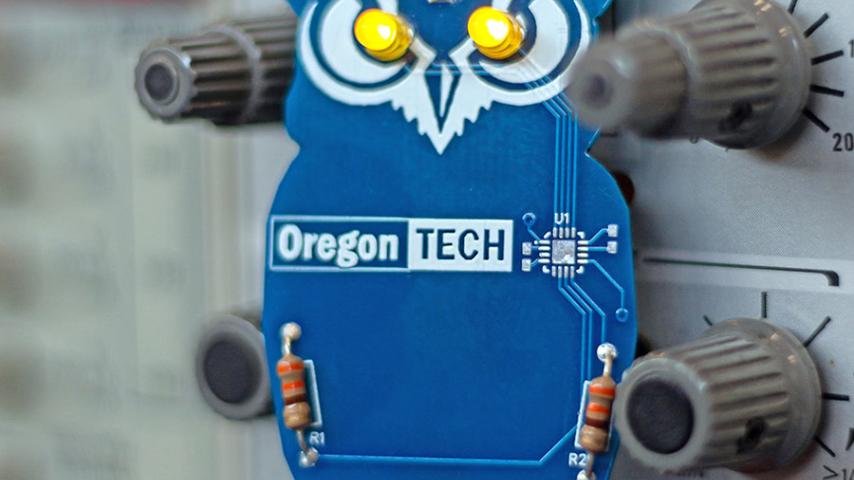
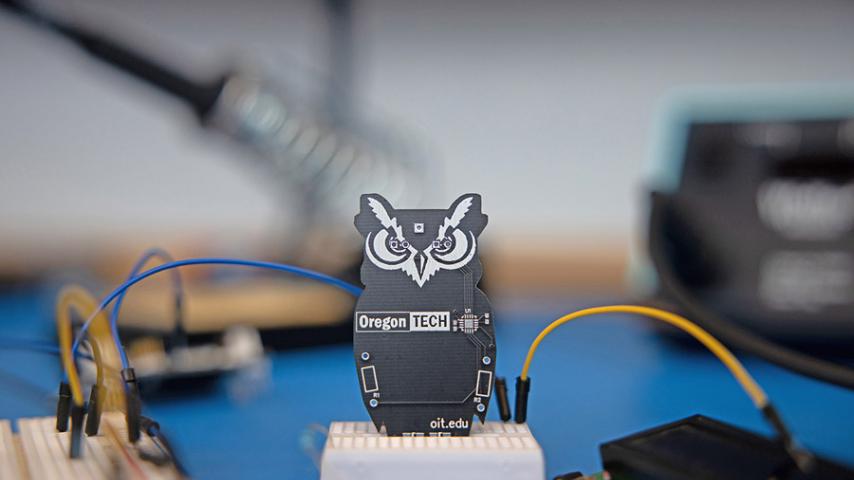
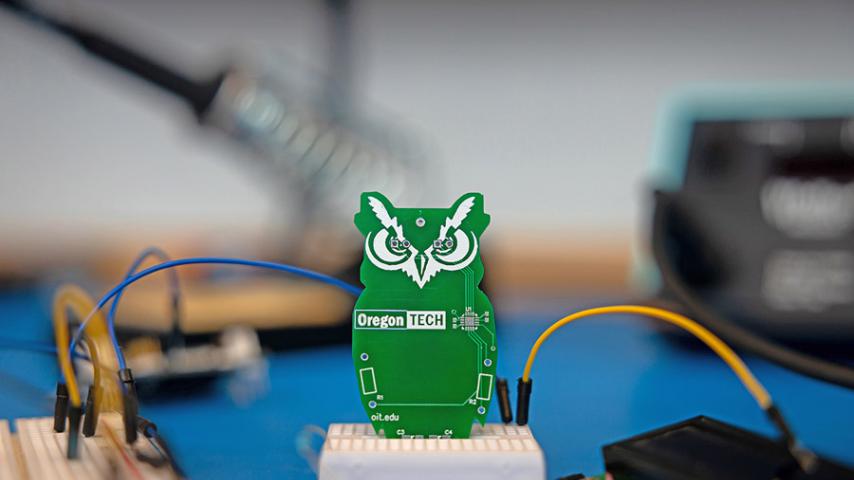
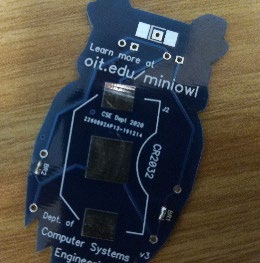
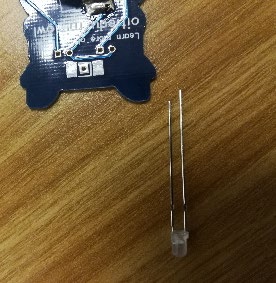
- Mini Owl Board
- 2 LEDs
- Battery
- Battery Holder
- Earing loop or lapel pin
Step by Step

Downloads
Assembly Video
Eddy Sackinger, senior in the Embedded Systems Engineering Technology program, shows how to assemble the Mini Owl.